
To use Image to icon, upload a photo, sketch or logo, write one line saying what it shows, pick a style and generate. The picture is used only to recognise the subject: its shape, proportions and defining features. Colours, lighting and drawing style come from the style you choose, so you get a brand-new icon, not a filtered photo.
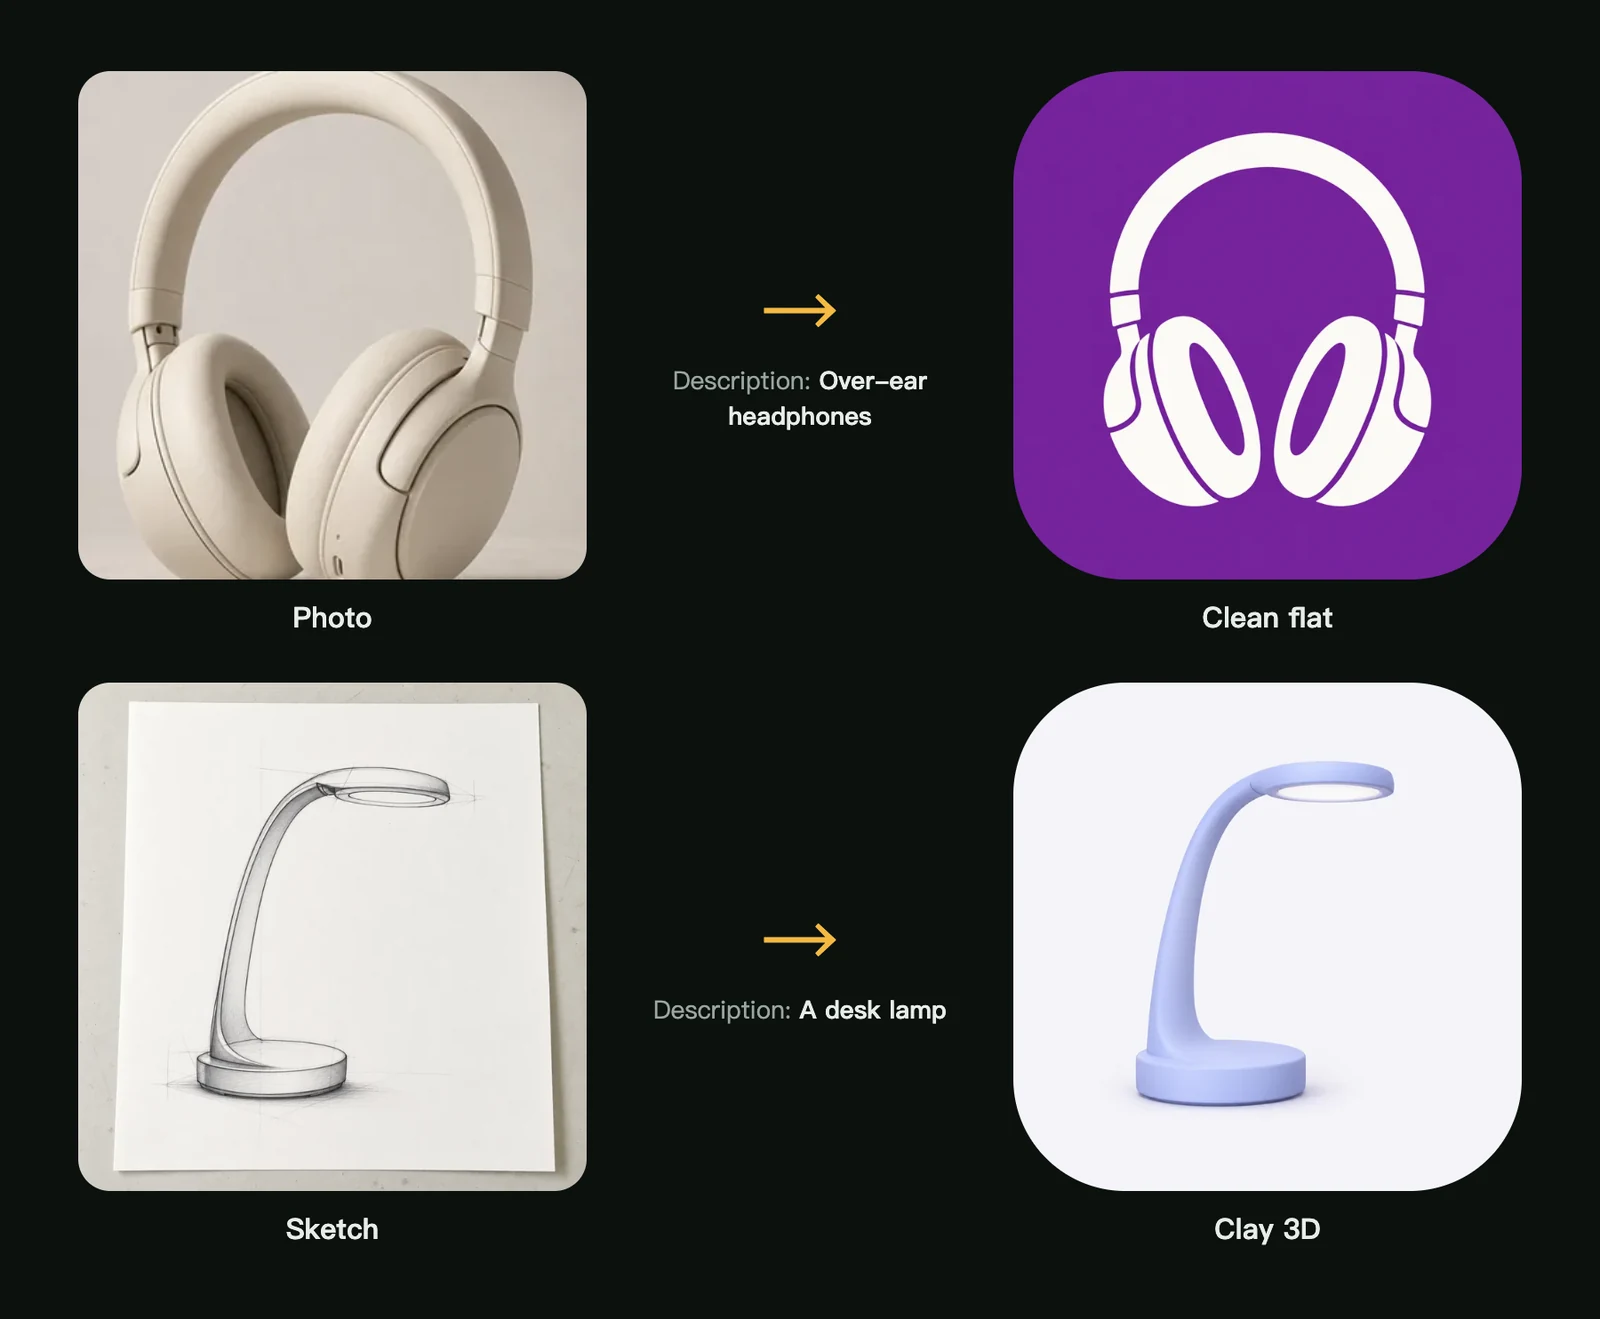
Two places to start
- The Image to icon tool. Upload a picture, describe it, pick a style and generate.
- The icon studio. Click the picture button in the subject box, add your picture, and generate as usual.
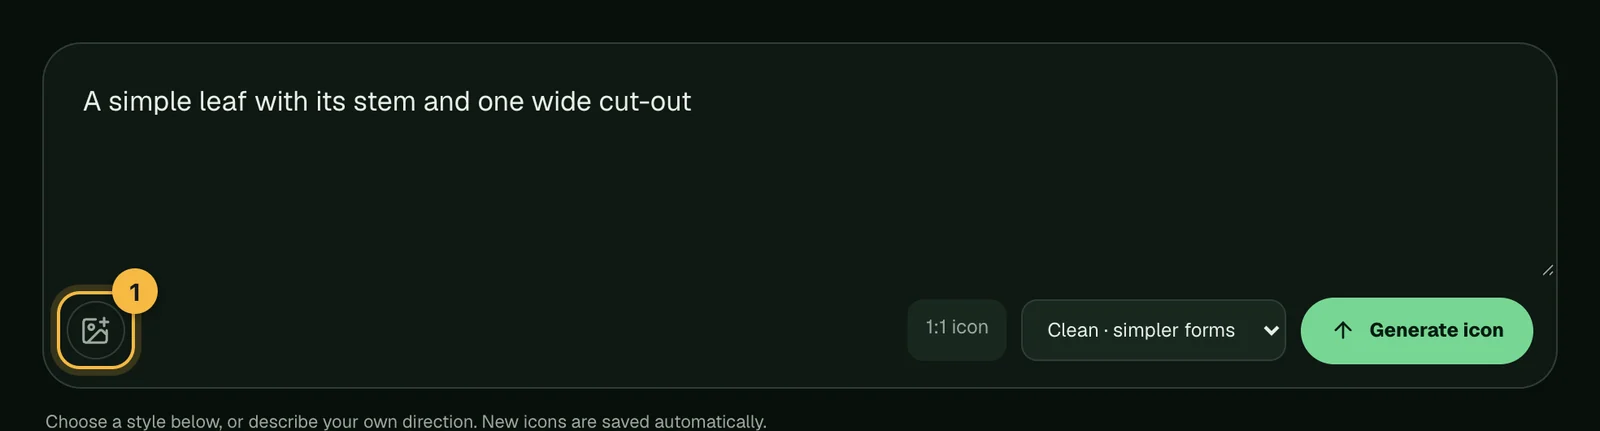
Step by step
- Upload a picture. JPG, PNG or WebP, up to 10 MB. On the Image to icon page you can also drag it in or paste it.
- Describe the subject in one line, for example "over-ear headphones" or "a desk lamp". This matters most for logos, sketches and photos with several objects in them.
- Choose a style. Pictures work with 11 styles: Clean flat, Edge negative, Geometric expression, Clay 3D, Glossy 3D, Folded ribbon, Matte tinted silhouette, Refined metal, Coloured frosted glass, Playful characters and Monoline character. Once a picture is added, only these styles are listed.
- Choose Clean or Detailed and generate. Your icon is saved to My icons like any other.
What makes a good source picture
- One clear subject, reasonably large in the frame.
- A simple background. Clutter behind the subject can end up in the icon.
- The angle you want. The icon keeps the subject's recognisable shape, so a clean side or three-quarter view works best.
- Enough resolution to see the shape. Blurry or tiny pictures give the model less to work with.
If your picture has a busy background, remove it first with the background remover.
Using a logo as the source picture
A logo is often wider than it is tall and may include your company name. For an app icon:
- Describe only the symbol, for example "a stylised mountain peak", not the whole wordmark.
- Leave the text out. App icons read best without words; see how to write a prompt for an app icon.
- Try a couple of styles. Clean flat and Glossy 3D usually keep a symbol's shape closest.
Only upload logos and pictures you have the right to use. See commercial use and copyright.
Frequently asked questions
Will the icon look exactly like my photo?
No. It keeps what makes the subject recognisable, such as its shape and key parts, and redraws everything else in the chosen style. For a closer match, write a more specific description.
Who can see the pictures I upload?
Your pictures are used only for your own generations and are kept with your account. They are never shown in a public gallery. See our privacy policy for details.
Which styles can I use with a picture?
Clean flat, Edge negative, Geometric expression, Clay 3D, Glossy 3D, Folded ribbon, Matte tinted silhouette, Refined metal, Coloured frosted glass, Playful characters and Monoline character. After you add a picture, the style list shows only these, so any style you see will work.
Did not find an answer?
Open a ticket and tell us what happened. We will reply as soon as we can.