
To make your first icon in AI Icon Creator, describe one subject, choose a style, and click Generate icon. Most icons are ready in one to three minutes and are saved to My icons automatically, where you can edit them or download a PNG and a complete icon pack for iOS, Android and the web.
This guide walks through each step in the icon studio.
Step 1: Describe the subject
Type what your app icon should show into the box at the top of the studio. One short sentence is enough: "A rocket", "A calm whale", "A camera".
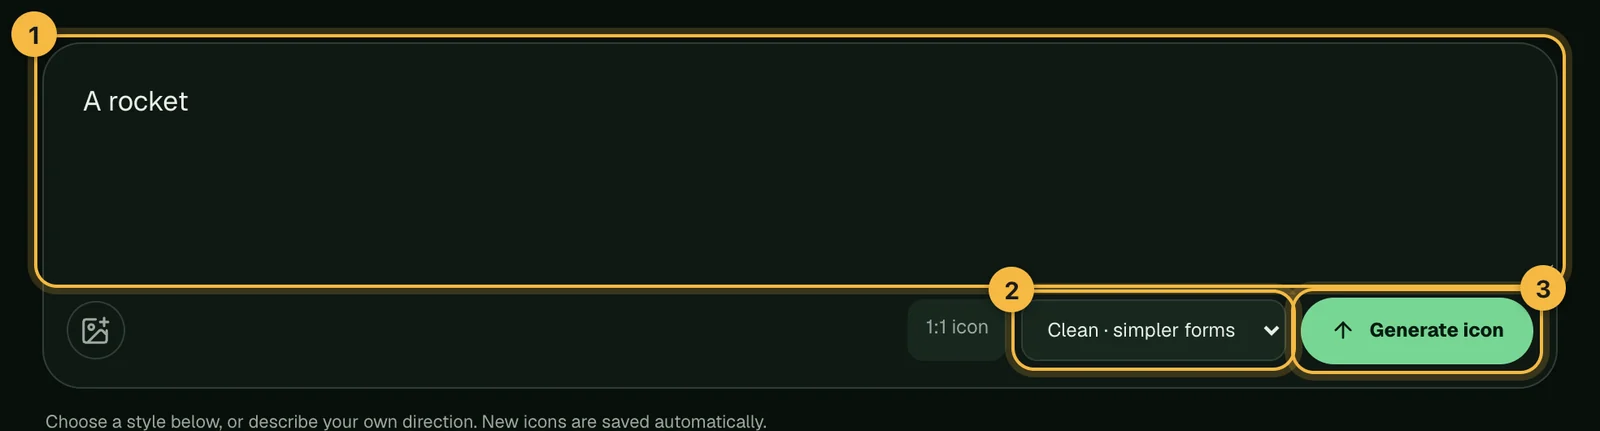
Keep it to a single object and leave out words, logos and whole scenes. Small icons only have room for one clear idea. How to write a prompt for an app icon shows what works and what doesn't.
Step 2: Choose a style
Below the subject box, pick a style from the strip. The style decides how your icon is drawn: flat and graphic, soft 3D, glass, metal or a friendly character.
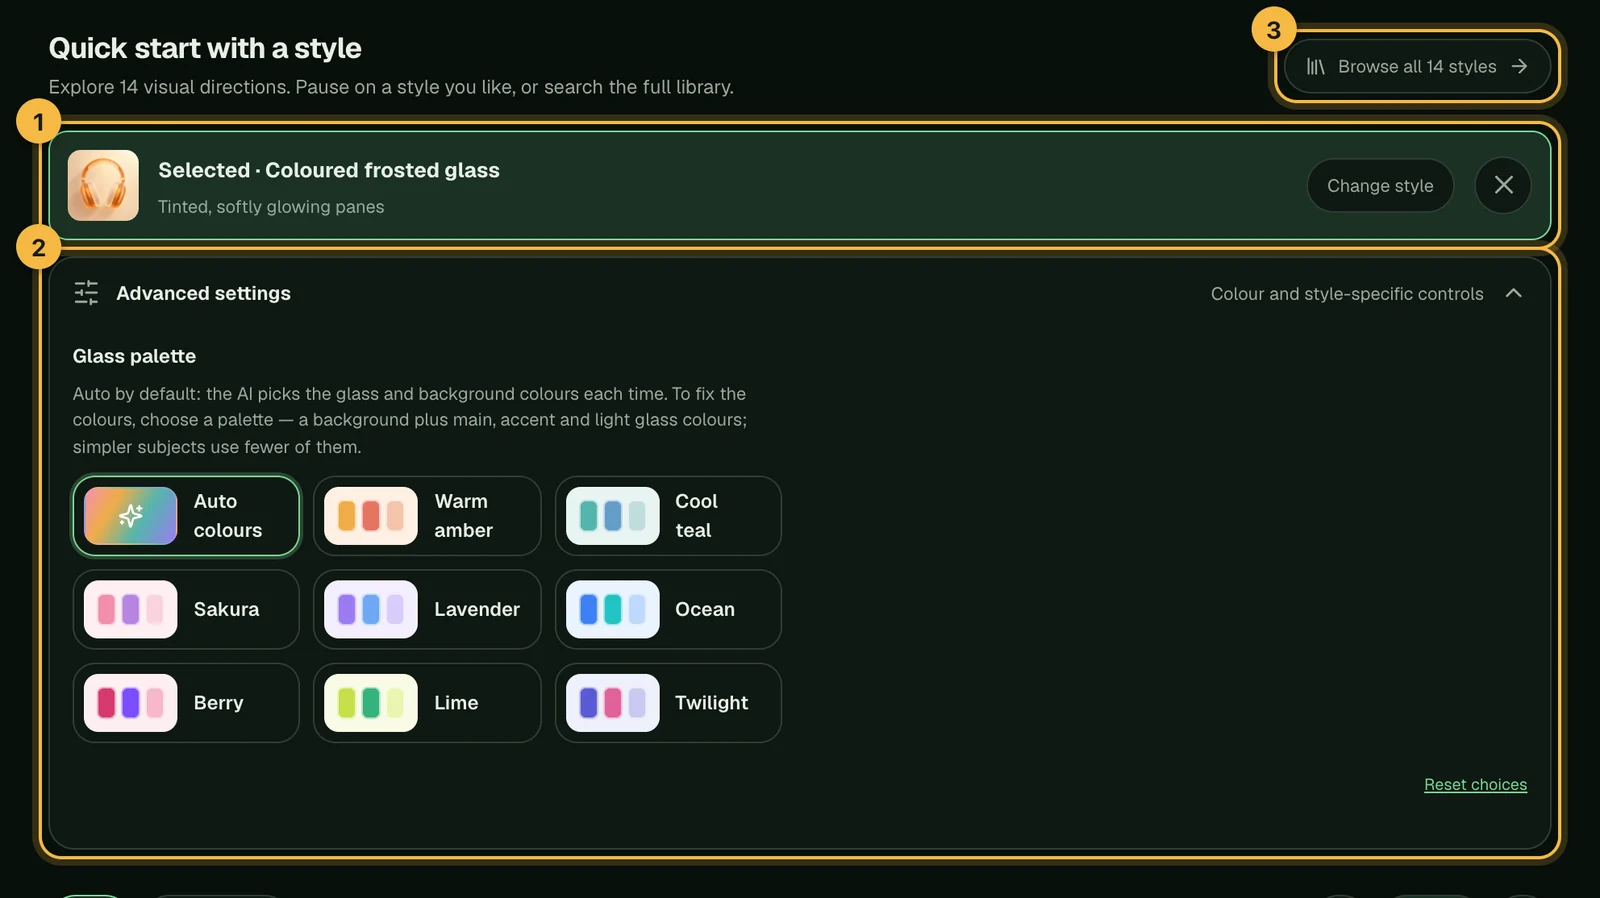
Once a style is selected, you may see extra options under it:
- Rendering: a few styles come in more than one version, such as Minimal and Lively for Playful characters.
- Advanced settings: colours, backgrounds or expressions for that style. Every option starts on a sensible default, often Auto, where the model chooses for you, so you can skip this. A few styles have no settings at all.
Not sure which style fits your app? See the 14 icon styles explained, or open Browse all 14 styles to filter and search the full library.
Step 3: Pick Clean or Detailed and generate
Next to the button, choose a level:
- Clean: simpler shapes and faster results. Good for trying ideas.
- Detailed: richer detail. Good once you know which direction you want.
Then click Generate icon. The button shows how many credits the icon will use before you commit.
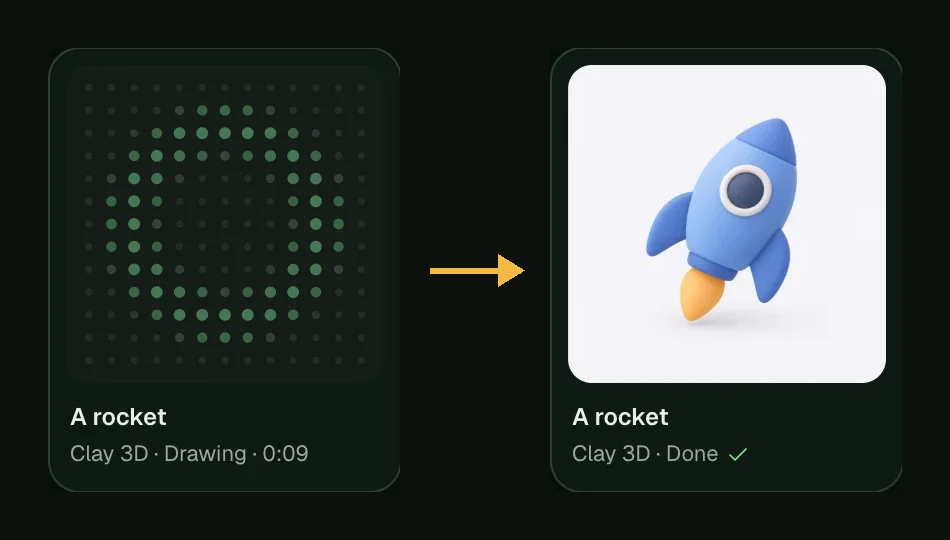
Generation runs in the background:
- You can queue up to 4 icons at once, keep writing new subjects, or leave the page.
- Most icons finish in 1–3 minutes. Detailed icons in a few styles can take 5–10 minutes.
- If an icon doesn't finish, your credits are returned automatically. See what happens when a generation fails.
Where your icons are saved
Every icon, and every version you make of it, is saved to My icons. Open one to rename it, check it at real sizes, adjust it or download it. Deleting an icon only removes that version; the others stay.
What to do next
- Almost right? Edit the icon: change the whole icon, or just one area such as a colour or a detail.
- Ready to ship? Download your icon as a PNG or as an icon pack with every iOS, Android and web size.
- Publishing to a store? Check the App Store and Google Play icon requirements first.
- Have a photo or logo already? Turn it into an app icon.
Frequently asked questions
Do I need design skills to make an app icon with AI?
No. You describe the subject in plain words and choose a style; the model handles shape, colour and lighting. Design knowledge helps you judge the result, and our blog covers app icon design principles if you want to go deeper.
Can I make several icons at the same time?
Yes. Up to 4 icons or adjustments can run at once. When one finishes, you can start another.
What size is the icon I get?
A full square PNG with no rounded corners, ready for app stores. The one exception is Fused glass, which comes with the phone icon outline already applied. The icon pack adds every size iOS, Android and browsers need.
Did not find an answer?
Open a ticket and tell us what happened. We will reply as soon as we can.